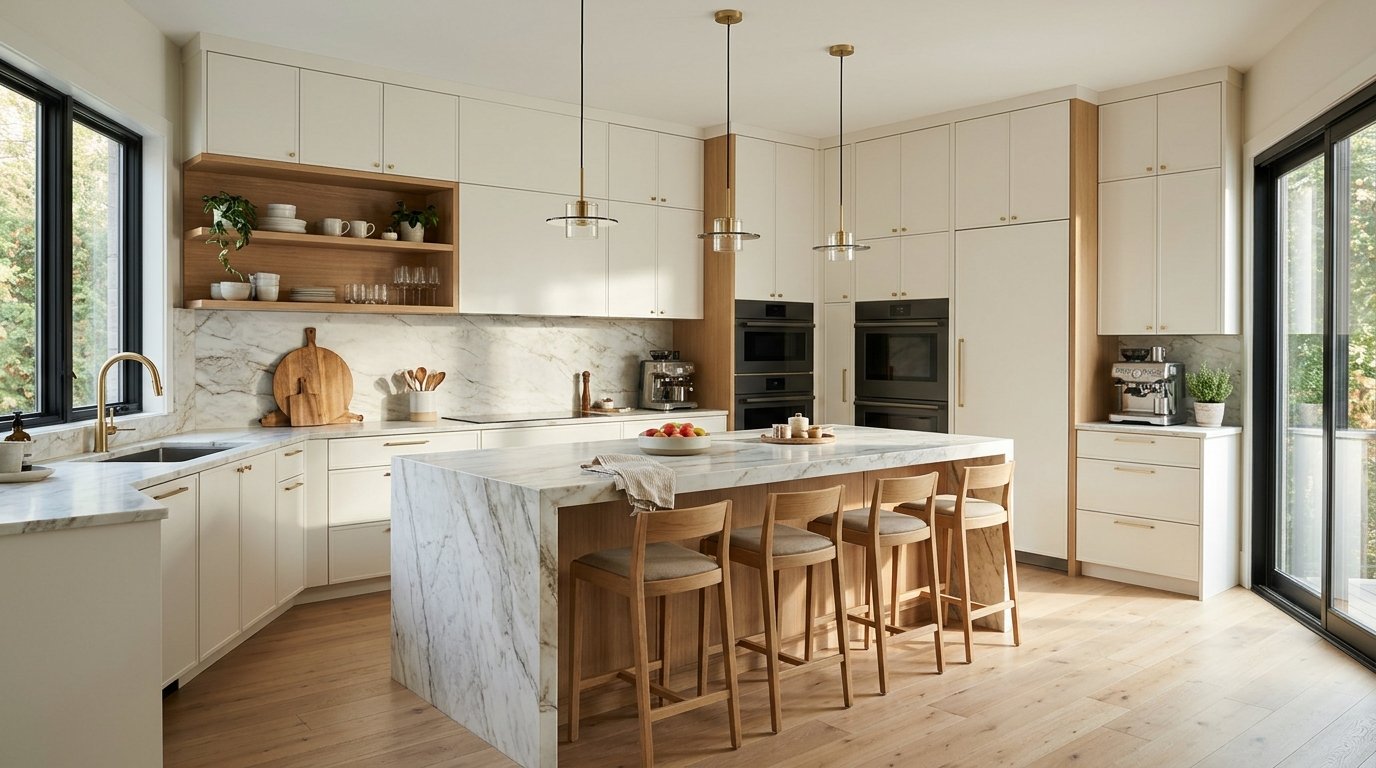
You just got the keys, the boxes are stacked to the ceiling, and the kitchen looks like a puzzle with no picture on the lid. The most common mistake at this stage is unpacking by instinct: plates go in the nearest cabinet, pans go wherever they fit, and three weeks later you are walking across the room to find a spatula.
A good new kitchen setup is not about buying anything. It is about deciding where things belong before you fill the cabinets, based on how you move and cook. This guide walks you through that process: how work zones function, where the sink, stove, and refrigerator relationships matter, how to protect counter space, how to plan storage, what to do first when you move in, and how to adjust the setup to your own cooking habits.
The Short Answer: A 6-Step New Kitchen Setup Order

If you only read one section, read this one.
- Clean and inspect first. Wipe down every shelf, drawer, and appliance and run through the safety checks in the checklist section below.
- Measure and mark your fixed points. Note where the sink, range, refrigerator, dishwasher, and outlets are. These are the things you cannot easily move.
- Assign work zones. Decide where you will prep, cook, clean, and store food (details below).
- Plan counter space. Decide what earns permanent counter real estate and what goes away.
- Map storage by point of first use. Store each item where you first reach for it, not where it fits.
- Unpack in priority order and adjust for a week. Essentials first, then a trial week before you commit to a final arrangement.
The rest of this article explains each step with specifics.
Kitchen Work Zones Explained

A kitchen work zone is simply a group of tasks plus the tools and surfaces needed to do them. Designers talk about zones because most kitchen frustration comes from tools being in the wrong place for the task, not from the kitchen being too small.
Most home kitchens work well with five zones. Smaller kitchens often merge two of them, and that is fine.
The Five Core Zones
| Zone | What happens here | What belongs in it | Typical location |
| Food storage | Storing and retrieving groceries | Refrigerator, freezer, pantry, shelf-stable foods | Near the kitchen entry so groceries have a short path in |
| Cleanup | Washing, rinsing, draining, trash | Sink, dishwasher, dish soap, sponges, trash and recycling, dish towels | Around the sink |
| Prep | Chopping, mixing, measuring | Cutting boards, knives, mixing bowls, measuring tools, colander, peelers | The longest uninterrupted counter, ideally next to the sink |
| Cooking | Heating, baking, boiling | Range, oven, microwave, pots, pans, baking sheets, cooking oils, spices, spatulas, oven mitts | Around the range |
| Dish storage and serving | Setting the table, putting away | Plates, glasses, flatware, serving dishes | Close to the dishwasher so unloading is short |
Why Two Zones Matter Most
The prep zone is where you spend the most active time, and it needs to sit between the sink and the cooking area whenever possible. You rinse produce at the sink, chop on the counter, and carry the food a short distance to the range. If your prep counter is on the far side of the room from either one, you will walk laps with dripping vegetables and hot pans.
The second critical pairing is dishes and dishwasher. Putting plates and glasses close to the dishwasher shortens the most repeated chore in the kitchen, and it is a pairing many people only notice after they have set it up wrong.
Sink, Stove, and Refrigerator Placement

The sink, stove, and refrigerator are the three fixed anchors of nearly every kitchen. In a new home these are usually already placed, so your job is not to move them but to understand how they relate, and arrange everything else to support that relationship.
The Work Triangle and What It Means for You
The “work triangle” is the imaginary line connecting the sink, cooktop, and refrigerator. The National Kitchen & Bath Association (NKBA) has long recommended that each leg of the triangle measure roughly 4 to 9 feet and that the three legs total no more than about 26 feet, with no major traffic path cutting through it. (Editorial note: verify current NKBA guideline numbers against the latest edition before publishing.)
You do not need a tape measure to use the idea. Walk through a typical meal in your head: take food from the fridge, wash it, chop it, cook it. If that trip feels short and doesn’t cross a hallway, a doorway, or another person’s path, the triangle is working. If the legs are too long, you walk more; if they are too short, you have no room to work.
Keep in mind that the triangle is a guide, not a law. Many modern kitchens with islands, multiple cooks, or large refrigerators work better when thought of as zones (above) with the triangle as a sanity check.
Clearances and Distances Worth Knowing

These figures come from commonly cited NKBA kitchen planning guidelines and are good starting benchmarks. (Editorial note: confirm against the current NKBA guidelines before publishing.)
| Item | Common benchmark |
| Walkway width | At least 36 inches |
| Work aisle (one cook) | At least 42 inches between counters |
| Work aisle (two cooks) | At least 48 inches |
| Landing space beside the refrigerator | About 15 inches of counter on at least one side, or directly across |
| Landing space beside the cooktop | About 12 to 15 inches on each side where possible |
| Landing space at the sink | About 24 inches on one side and 18 inches on the other |
| Primary prep space | A clear counter about 36 inches wide and 24 inches deep, ideally next to the sink |
“Landing space” simply means a clear spot to set something down. Without it, you hold a hot pan or a heavy bag of groceries while you search for somewhere to put it.
If You Cannot Move Anything (Renters and Fixed Layouts)
If your layout is awkward, work around it instead of fighting it:
- Too little space beside the stove or fridge: add a movable cart, a folding shelf, or a cutting board that spans part of the sink. Many renters use a rolling cart to create a landing spot.
- Prep counter far from the sink: use a large bowl at the sink for washing, then bring washed produce to the prep spot on a tray.
- Refrigerator in a bad spot: set up a small “grab station” on the nearest counter with a few go-to items so you are not opening the fridge repeatedly.
- Stove in a corner: keep tools on a wall rail or hanging bar, which uses vertical space instead of counter.
Kitchen Counter Space Planning
Counter space is the most valuable real estate in your kitchen, and it disappears quickly when you treat it like a shelf. The goal of counter planning is simple: protect your work surfaces and give everything else a different home.
Decide What Earns Permanent Counter Space
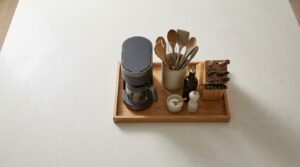
Use a simple test. An item stays on the counter only if it passes at least two of these:
- You use it daily.
- It is heavy or awkward to lift in and out of storage.
- It is used at that exact spot (for example, a coffee maker near the water source, or salt and oil near the stove).
Typical winners are the coffee maker, a cutting board, a utensil crock near the range, and a knife block or magnetic strip. Typical losers are blenders and stand mixers used once a week (store these in a lower cabinet or pantry), mail, keys, and decorative items that collect grease.
Protect Your Primary Prep Area

Pick one counter stretch, ideally about 36 inches wide and next to the sink or between the sink and stove, and keep it essentially empty. This is where you chop, mix, and assemble. If you have a lot of kitchen “stuff” and a small kitchen, defend this area first and push storage everywhere else.
Small-Counter Fixes That Actually Work
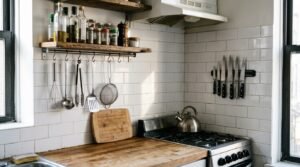
When you only have a few feet of counter, try these in order of impact:
- Go vertical. Wall rails, magnetic knife strips, and shelves above the counter turn wall space into storage.
- Cover the sink or stove temporarily. A cutting board that fits over the sink creates instant prep space.
- Use a movable surface. A rolling cart or a fold-down shelf adds space only when you need it.
- Shift the small appliances. Move the toaster or air fryer to a shelf, cart, or cabinet shelf and pull them out when needed.
How to Plan Kitchen Storage in a New Home?
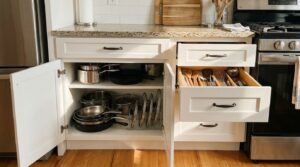
Storage is where most new kitchens go wrong, because the cabinets look similar and people fill them in the order they open boxes. Instead, plan storage using one principle: store things where you first use them.
Store by Point of First Use
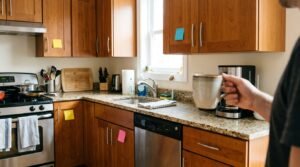
Here is where common items typically belong:
- Pots, pans, and lids: in cabinets or drawers closest to the range.
- Cooking oils, salt, and everyday spices: within arm’s reach of the stove.
- Mixing bowls, measuring cups, and baking sheets: near the prep area.
- Plates, bowls, and glasses: near the dishwasher.
- Cleaning supplies: under or beside the sink.
- Food containers and lids: near the refrigerator or prep counter, since you pack leftovers there.
- Trash and recycling: close to the prep and cleanup areas.
Use Height Zones
- Between your hip and shoulder (the “prime zone”): everything you use daily.
- Low drawers and cabinets: heavy items like cast iron, stand mixers, and big pots. Deep drawers are especially useful for these.
- High shelves: seasonal or occasional items such as a turkey roasting pan or party platters.
Map Your Cabinets Before You Unpack

Draw a quick sketch of your cabinets and drawers (or just number them) and assign each one a job before you open the boxes. A simple version looks like this:
| Location | Assigned job |
| Drawer beside the range | Cooking utensils, spatulas, tongs |
| Cabinet below the range | Pots, pans, lids |
| Drawer next to the dishwasher | Flatware |
| Cabinet above the dishwasher | Plates, bowls, glasses |
| Cabinet under the sink | Cleaning supplies, trash bags, dish soap refills |
| Pantry or upper cabinet | Dry goods, canned food, baking supplies |
This takes ten minutes and prevents the “wherever it fits” problem that causes re-organizing weeks later.
Kitchen Setup for Different Cooking Habits
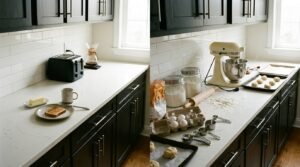
A great kitchen setup for one household may be wrong for another. Use the table below to adjust the general zone approach to how you actually cook.
| Cooking habit | What to prioritize | What to adjust |
| Cooks from scratch daily | Large uninterrupted prep counter, sharp knife storage within reach, spices and oils at the stove, deep drawers for pans | Keep everyday tools on the counter or on a rail rather than in the back of a cabinet |
| Quick weeknight meals | Easy access to a few reliable pans, a sheet pan, a go-to pot, and a spice and sauce shelf | Store rarely used gadgets away so your essentials are always visible |
| Baker | Heavy mixer storage at waist height or on a pull-out shelf, flour and sugar containers near the prep zone, vertical storage for sheet pans | Keep baking sheets in a vertical slot, not stacked |
| Meal prepper | Large container storage near the prep counter, big cutting boards, a clear refrigerator zone for prepped meals, a drying space for containers | Give the dish-drying area extra room |
| Frequent entertainer | A serving zone with platters near the dining space, extra glass storage, a beverage area | Use upper shelves for serving pieces, but keep a clear counter for staging |
| Mostly reheating and takeout | Microwave placement at a convenient height, simple dish storage, minimal pan collection | Skip the heavy cooking zone and expand the beverage and snack area |
| Cooking with kids | A low drawer with kid-safe items (plastic bowls, measuring cups), a stable step stool, snacks at reachable height | Keep knives, hot items, and cleaning chemicals high or locked |
Think about your top three tasks, such as making coffee, cooking dinner, and packing lunches, and make sure each one has a clear, short path through the kitchen.
How to Organize a Kitchen After Moving?

The best unpacking strategy is to unpack in waves, from most essential to least essential. This keeps you from filling your best cabinets with things you rarely use.
Day One: The Essentials Wave
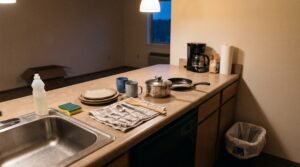
On day one, unpack only what you need to eat and clean up:
- Plates, bowls, mugs, and a few utensils
- One skillet and one pot
- A knife and a cutting board
- Dish soap, sponge, dish towels
- Trash bags and a can
- Coffee maker or kettle
Week One: Daily-Use Items
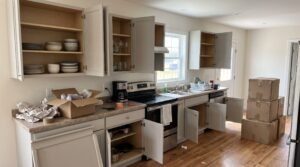
During the first week, put away everyday dishes, cookware, small appliances you use weekly, pantry staples, and food storage containers. Place them according to your cabinet map. Leave the “someday” boxes closed.
The Trial Week: Adjust Before You Commit

Cook for a full week and notice where you hesitate, reach awkwardly, or walk extra steps. Move those items. Small changes now are easy. Only after that week should you unpack seasonal and specialty items, which go in high or hard-to-reach storage.
Kitchen Setup Checklist for a New Home

Run through this before you load the cabinets.
Clean and inspect
- Wipe inside and outside every cabinet and drawer, the refrigerator, oven, and dishwasher.
- Look under the sink for leaks, water stains, or signs of pests, and run the faucet and garbage disposal (if you have one).
- Run an empty dishwasher cycle with a dishwasher cleaner or just hot water.
Safety
- Test smoke alarms and carbon monoxide alarms, and replace batteries if unsure of their age.
- Keep a fire extinguisher labeled for kitchen use (a multipurpose ABC type is common in homes) within reach but away from the stove, and read the instructions now.
- If you have a freestanding range, make sure the anti-tip bracket is installed. This safety device prevents the range from tipping forward when a heavy load is placed on an open oven door.
- Check that GFCI outlets near water sources work using their test and reset buttons.
Food safety
- Set your refrigerator at 40°F or below and your freezer at 0°F, which are USDA/FDA recommended temperatures, and confirm with an inexpensive appliance thermometer rather than trusting the dial.
- Give the refrigerator a few hours to reach temperature before loading it with perishable food.
Setup
- Decide where the trash and recycling will go.
- Plan where the knives, cleaning chemicals, and anything unsafe for children will be stored.
- Measure drawers and cabinet depths if you plan to buy dividers or organizers. Buy after the trial week, not before.
Common Kitchen Layout and Setup Mistakes to Avoid
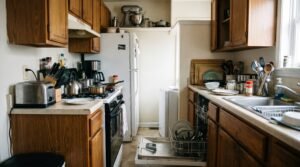
Many first kitchen setup mistakes repeat. Here are the biggest ones and what to do instead.
| Mistake | Why it hurts | Better approach |
| Unpacking without a plan | Cabinets fill with items in random spots, and you re-organize later | Map cabinets first, assign jobs |
| Putting dishes far from the dishwasher | Unloading becomes a long, repetitive walk | Keep everyday dishes near the dishwasher |
| Filling the best cabinets with rarely used items | Daily items end up awkward to reach | Reserve prime storage for what you use daily |
| No landing space near the stove or refrigerator | You hold hot or heavy items with nowhere to put them | Keep at least a clear spot of 12 to 15 inches nearby |
| Treating counters as storage | No room to actually prep | Keep the primary prep area clear |
| Blocking traffic with open doors | Dishwasher, oven, and fridge doors collide with people | Check door swings and keep a path of at least 36 inches |
| Buying organizers before using the kitchen | Wasted money on the wrong size and type | Live in the space for a week or two first |
| Putting the trash far from the prep area | Food scraps drip across the floor | Place the trash within a step or two of the prep area |
| Storing knives or cleaning chemicals in unsafe spots | Safety risk, especially with kids | Use higher shelves, locks, or a dedicated knife block or strip |
Setup Tips by Kitchen Layout Type
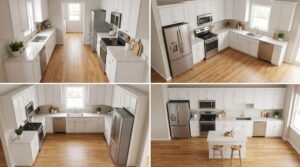
| Layout | Strength | Setup tip |
| Galley | Efficient, short walking distances | Keep the walkway clear, store daily items on one side, and use the other side for prep |
| L-shaped | Flexible and open | Use the corner for the primary prep area and keep the sink and stove on separate legs |
| U-shaped | Plenty of counter and storage | Avoid dead corners by using corner cabinets with pull-outs or lazy Susans |
| Single-wall | Simple and compact | Create a mobile prep surface with a cart or island, and use vertical storage |
| Island or peninsula | Extra prep and seating | Keep at least 36 inches of walkway around the island, and do not let it become a drop zone |
Troubleshooting: When Your New Kitchen Still Feels Wrong

Even a well-planned kitchen needs tuning. If something feels off, find your symptom below.
| Symptom | Likely cause | Fix |
| You keep walking back and forth for the same tool | Tool is stored far from where it’s used | Move it to the zone where you first reach for it |
| Counters are always crowded | Too many “daily” items or no home for others | Apply the two-of-three counter test, and store the rest |
| Nowhere to set hot pans | No landing space near the stove | Add a heat-safe trivet, shelf, or cart |
| Cabinets feel stuffed but kitchen is small | Too many duplicates or rarely used items | Pause and edit the collection before adding storage |
| Dishwasher unloading takes forever | Dishes are stored far from it | Move dishes and flatware closer |
| You avoid cooking | Prep area is cramped or poorly lit | Clear prep space and add under-cabinet lighting if possible |
Conclusion
A functional new kitchen setup comes from a few decisions made in the right order: define your work zones, respect the relationship between sink, stove, and refrigerator, protect your prep counter, and store each item where you first use it. Unpack in waves, test the setup for a week, and then adjust.
You do not need a bigger kitchen or new products to get this right. You need a plan that matches how you actually cook.